

Crash Bandicoot 4 Bonus Level 2
You'll have to perform some serious phase-shifting in Crash Bandicoot four to become the Subconscious Gem in Crash Compactor, the 2d level of Map 2.
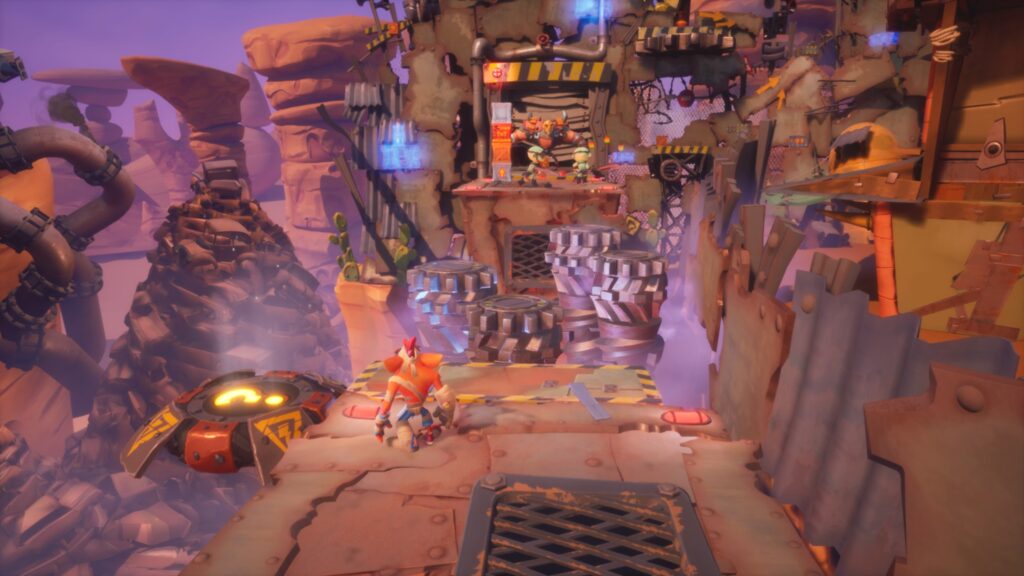
This sprawling phase pits you against flame-throwers and treacherous gauntlets where you'll have to apply your blue mask ability-up to hop through walls and make platforms appear beneath you. The levels are merely getting harder, so let's dig in and go all the crates.
More Crash Bandicoot 4 guides:
How To Find The Ridiculous WOAH! Meme | WOAH YEAH! Easter Egg Guide | How To Beat All Bosses | Neo Cortex, Northward. Tropy & More | How To Get All 4 Colored Gems | Blue, Yellow, Light-green & Blood-red Locations
two-2: Crash Compactor | All Crates & Hidden Gems
To earn 100% on a level, you need to find fourscore% of all Wumpa Fruit, die no more than 3 times, find the Hidden Gem, and discover all crates. These challenges can be completed in any order. If you lot die more than 3 times while finding all the crates, y'all can return and earn the last gem later on. All gems you've unlocked in a level stay unlocked in hereafter replays.
26/136: No tricks here. Just articulate all the crates — including the few on the correct, on a small optional path near the start. Keep going until you attain a ledge with an open up room on the left.
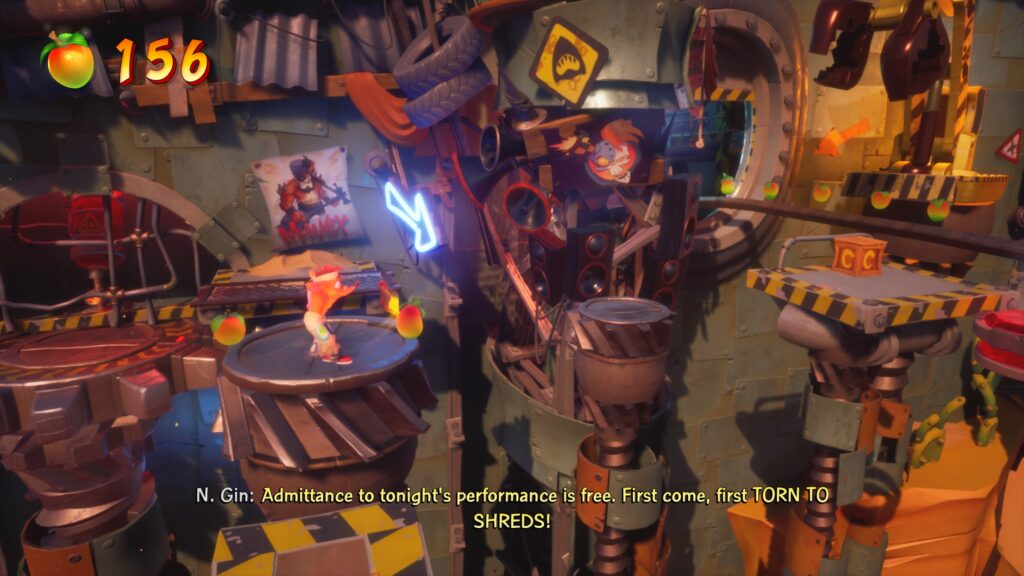
[Like shooting fish in a barrel-To-Miss] 28/136: Two subconscious crates are institute in the small interior room to the left, once yous run into the mutant with the flame helmet.
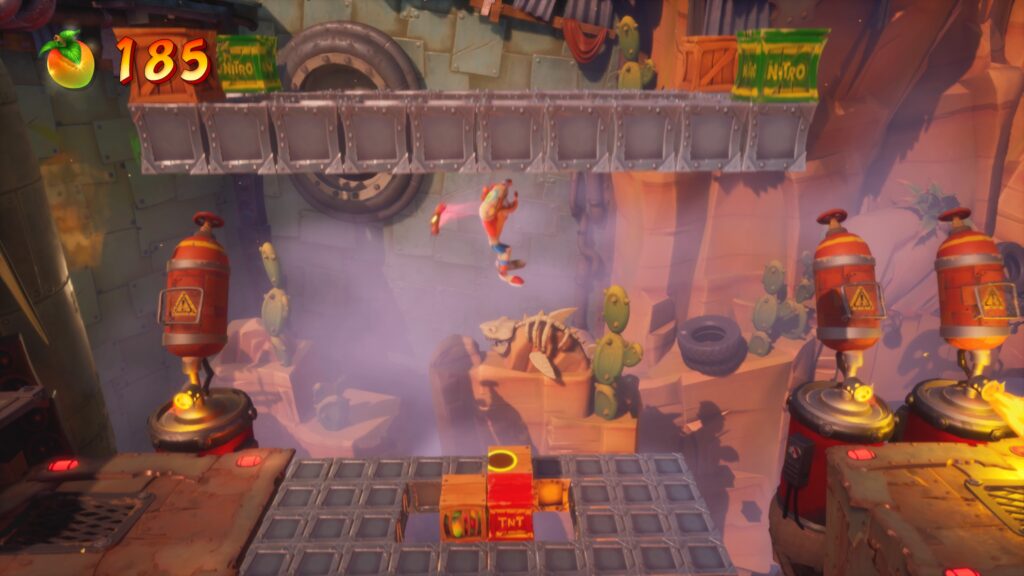
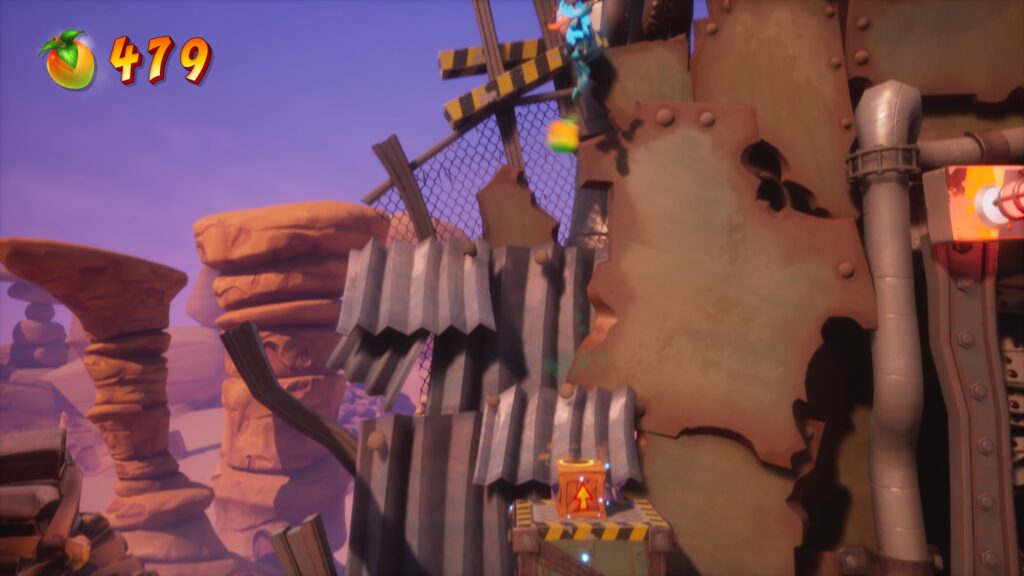
38/136: Dodge the flame jets and spinning gears. There are a bunch in the groundwork, and this ready ends with two fruit crates.
[Like shooting fish in a barrel-To-Miss] 39/136: At the blue neon pointer, y'all'll have to leap on some circular platforms. In the foreground, there's a modest ledge with 1 crate.
40/136: The checkpoint crate is ahead. This is where you'll observe the grind track — and the blood-red gem bonus room. The ruby gem bonus room is only bachelor if you collected the ruddy gem in N. Sanity Peak.
[Red Gem] 64/136: There are 24 crates in the cherry-red gem bonus surface area. Make sure y'all use the subconscious bounce crate after the spinning gears to reach the upper area with two crates.
68/136: There are 4 crates on the rail grind. Subsequently the 2d crate, immediately jump right to attain a difficult one.
69/136: This is the checkpoint crate right after the rails grind. It's important considering there's an "!" crate beneath it. Drib down and hit the crate, then slide-leap back up.
Hidden Gem: Hit the "!" crate hidden underneath the checkpoint to open a door to this hidden gem, right backside the masked mutant ahead.
74/136: To a higher place the subconscious gem alcove, at that place's a pocket-sized optional path to the right with 5 crates.
98/136: There are 24 crates in the bonus room. The trick to this room is you need to attain the end, then backtrack back — jump over lots of crates then you have plenty to go back and then dorsum to the exit again with. There's one tricky crate floating above the billowy metal crate.
[Easy-To-Miss] 102/136: Past the bonus room, you'll find a TNT crate near two minions. Nail the lower crate with a spin attack, wait for the TNT to explode, and leap on acme of the bouncing metal crate to collect an piece of cake-to-miss crate on height.
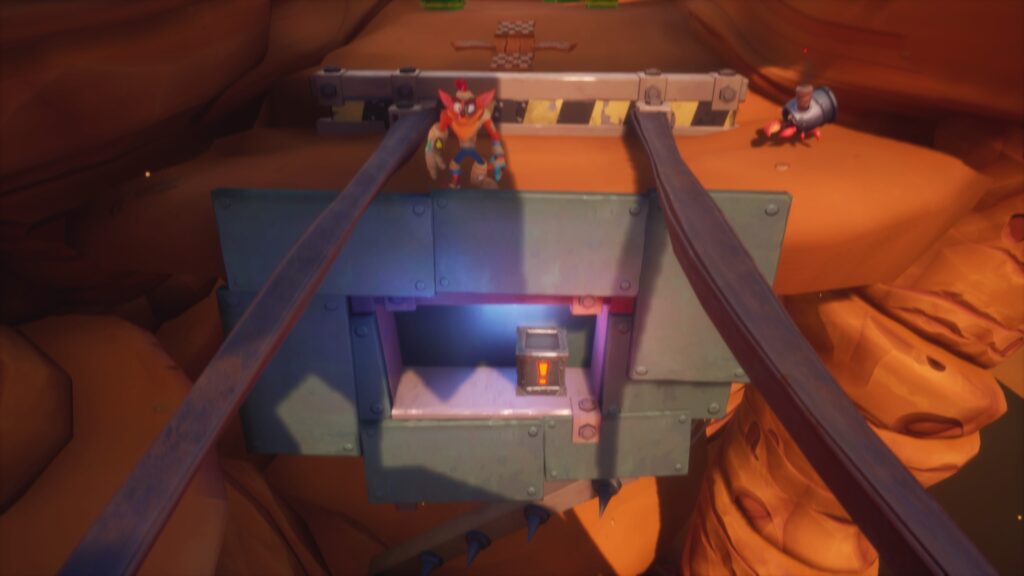
108/136: Spring on all 6 crates forming a bridge past that terminal niggling puzzle.
109/136: This is the checkpoint crate, and where you'll gain the phase-shift mask.
[Easy-To-Miss] 112/136: Gain the blue mask, then phase-shift and leap to the platform to the left of the flamethrower trap. There are 3 crates here.
116/136: Climbing the phase-shift gauntlet, become onto the spinning gear on the upper-left and phase-shift to reach a high platform with 4 more than crates.
120/136: 3 crates and 1 checkpoint ahead.
[Easy-To-Miss] 121/136: There's a tricky crate on the wall to the right of the checkpoint. Get down, then to the bounciness crates — then phase-shift left and slide-jump up the platforms to reach it.
136/136: Hitting the Nitro detonator to get the last crates.
Source: https://gameranx.com/features/id/210278/article/crash-bandicoot-4-all-crates-hidden-gem-locations-2-2-crash-compactor-100-guide/
0 Response to "Crash Bandicoot 4 Bonus Level 2"
Post a Comment